
written by Metro Music Makers instructor Michael Pagel
It is time again for another experiment in circuit bending! In my last post, I explained how my father’s job sparked an early interest in electronics and technology. This time my mother’s job inspired me to take on this project. My mom is just about to retire from her job as a speech therapist. She has been teaching at various elementary schools since before I was born; thus, she has plenty of tools and teaching devices used for speech therapy. By far the most interesting one to a young me was a machine that could record and play back your voice on piece of cardstock that had a magnetic tape strip attached to the bottom. They were made by a company called Califone which is still around today, although the outdated, tape-based equipment is no longer produced. Recently, the elementary school that my mom works at was throwing away multiple outdated Califone machines. Lucky me!
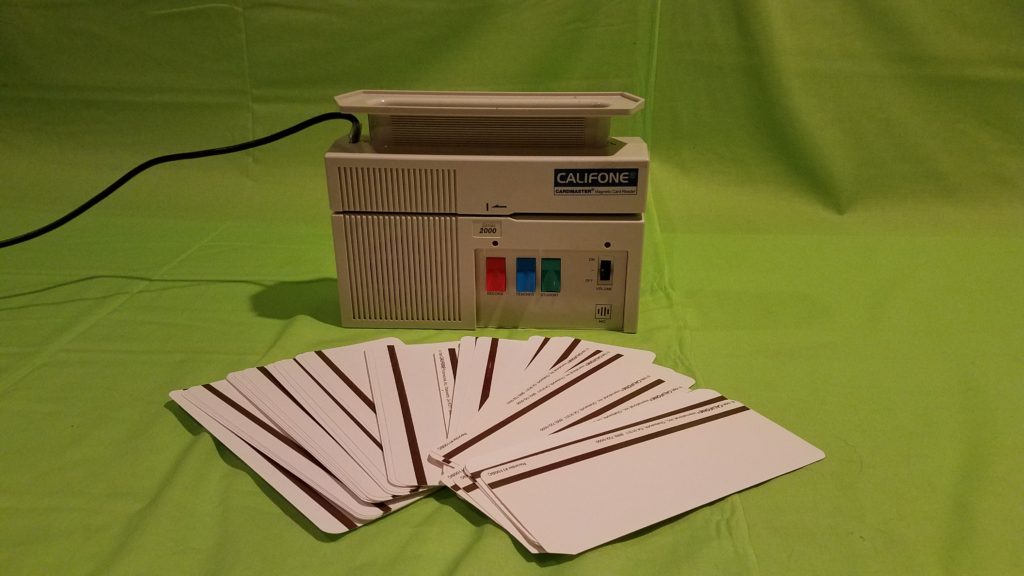
As a kid, I would abuse and misuse these machines by manually overriding (with my hand) the built-in motor that pulls the cards through the machine. This would make my voice come out faster or slower, which entertained six-year-old me greatly. The beginning of the video at the bottom of this post demonstrates normal usage, as well as manually overridden usage.
For this project, I wanted to be able to change the speed that the machine pulls the cards through, as well as reverse the direction of the card. This would allow me to change the pitch of whatever was recorded and play the sample backwards. I usually add a ¼ inch mono output jack, but this machine already had one!
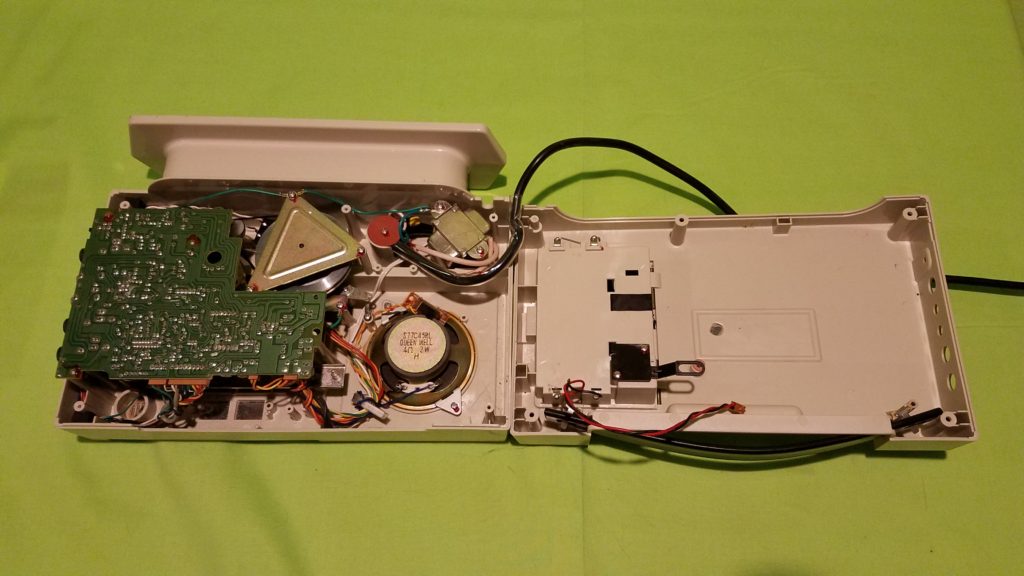
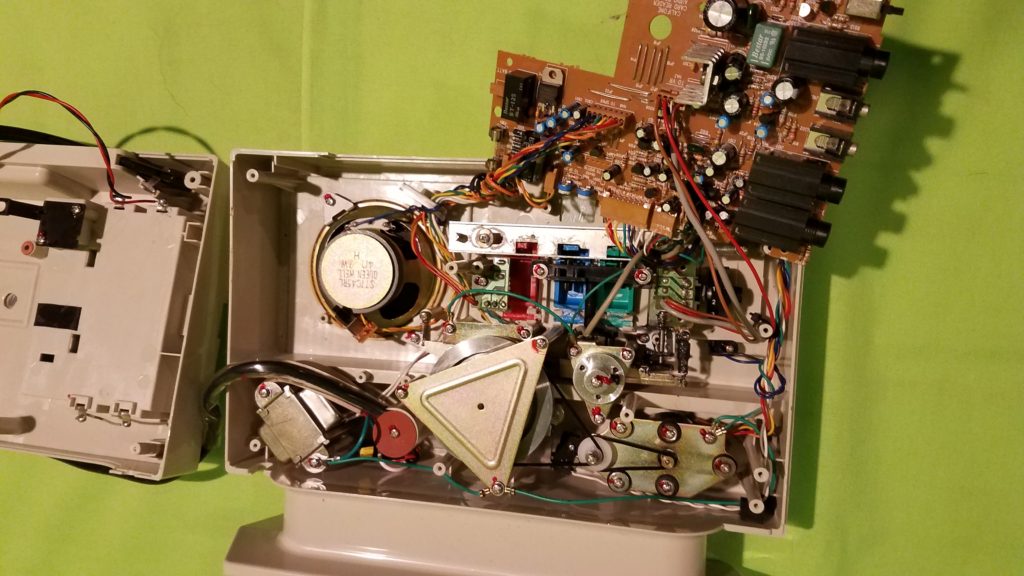
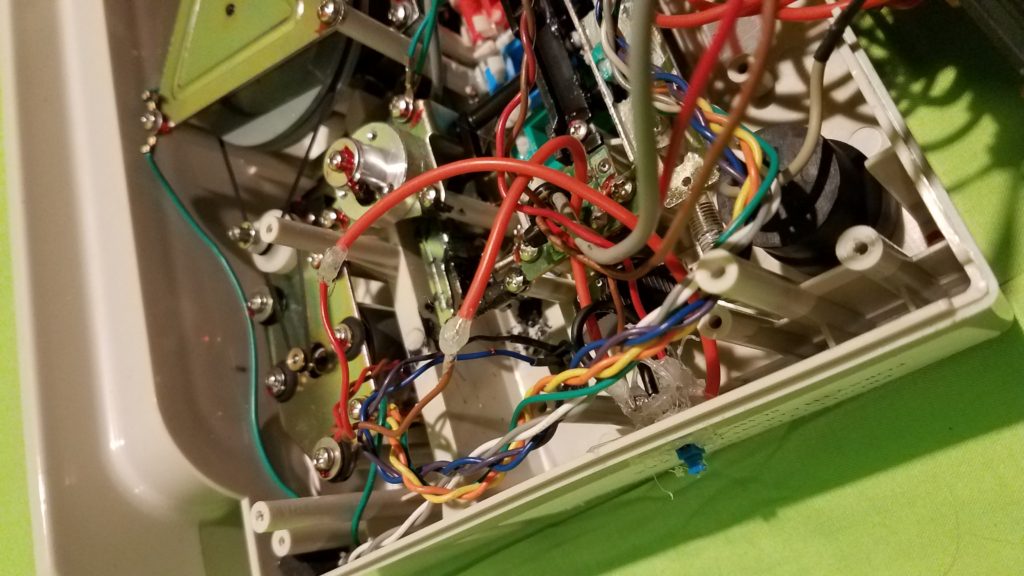
Now that you know what this bizarre device is and I have explained my general circuit bending plan, let’s open it up and see what is inside!
To be clear, I know I am breaking one of the cardinal rules of circuit bending: don’t circuit bend anything that plugs into the wall, because you might get electrocuted. In this circumstance, the device can also be powered from batteries, so it is safe for circuit bending and testing using battery power.
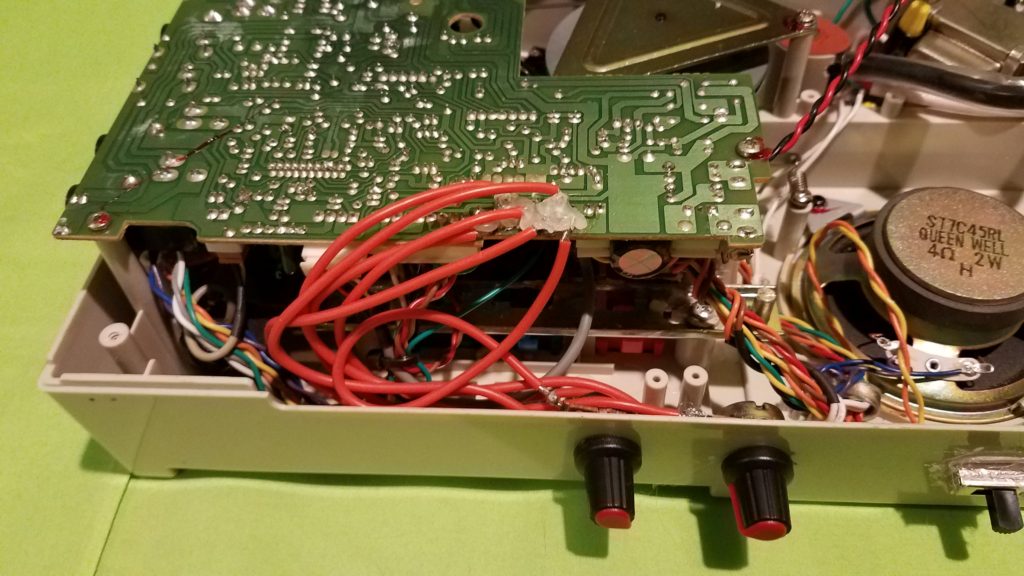
Upon opening up the machine, I noticed two very small potentiometers already soldered to the circuit board.
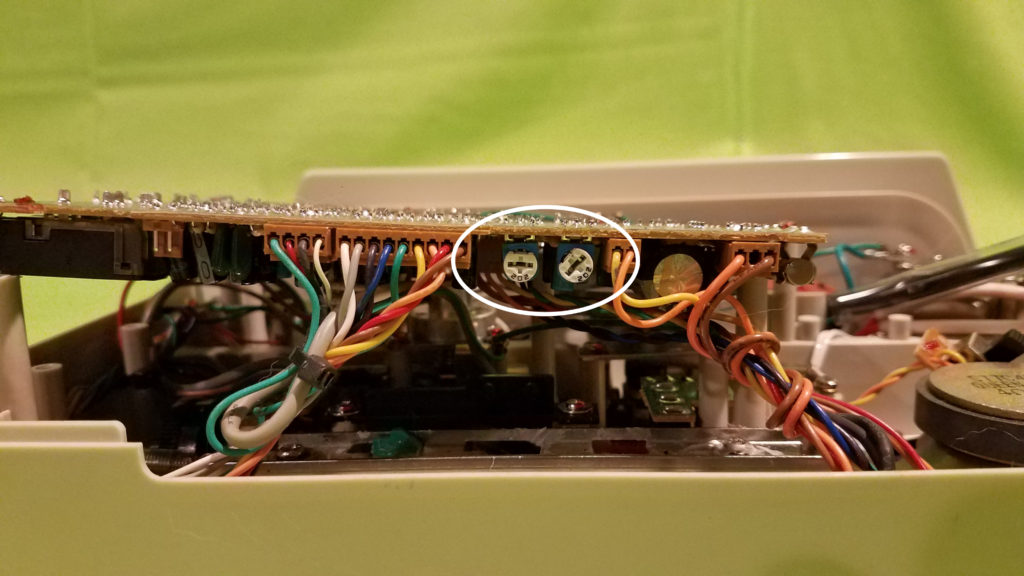
This just made my job very easy, as it was now just a matter of desoldering these two potentiometers, replacing them with higher value pots, and mounting them out the outside of the machine for easy access. I also discovered that there was already a “speed” switch in the battery compartment with “standard” and “half” choices. When this switch is used, it toggles between the two pots. This switch was also mounted to the outside of the machine for easy access.
The last part of the project was building a circuit that would make the device play the cards backwards. With some quick Googling, I found out that there was a simple circuit you could build using a basic switch. Essentially, when the switch is toggled it reverses the polarity of the machine’s drive motor, allowing it to pull the card backwards. I quickly soldered together the simple circuit, soldered it to the board, and mounted it to the side of the machine’s case.
Now that all of the project goals had been accomplished, all that was left to do was put it all back together and test it out! The video below demonstrates all of the different things that the circuit bent Caliphone can do. After completing this project, I had an epiphany; I could tape multiple cards together end-to-end and essentially create an old fashioned loop machine! This can be seen at the end of the video.
I hope you have enjoyed another installment of circuit bending madness. I will be back again with another creation in a future blog post!